


 9,309 reviews
Film scanner purchasing advice: how to choose the right product
- The most important facts in brief
- Slide scanners are used to digitise slides.
- There are portable scanners as well as stationary devices in the mid-range and professional segment.
- Most models come with special software.
Slide scanner: bringing memories back to life
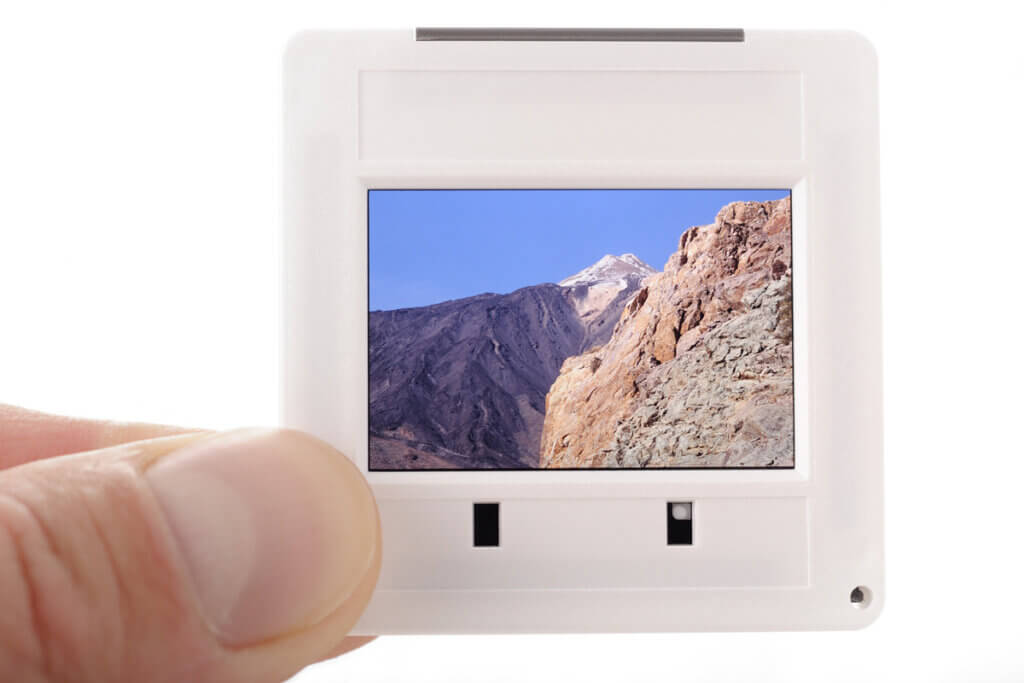
Many attics still contain countless slides, also known as reversal films. Unlike negatives, they show the respective motif with true-to-the-original colour reproduction. The heyday of small slides was in the second half of the 20th century. Especially in the 1970s and 1980s, evening slide shows were a popular leisure activity. With the help of a slide projector, childhood memories, holiday photos or snapshots of special occasions were shown on the big screen. In 2001, slide films still accounted for about seven percent of the 187 million films sold in Germany.
With the rise of digital photography, they eventually went a little out of fashion. The slides from previous decades slowly disappeared, were stowed away in boxes and fell into oblivion. But the ravages of time are taking their toll on these little photographic treasures as they age. Dust, dirt and decay attack the little pictures and can damage or even destroy them. Most slides are unique, so a destroyed image is irretrievably lost.
Many of these pictures are valuable witnesses of memories long gone. A comprehensive rescue operation to preserve the picture documents is therefore worthwhile. The solution for digitising the slides is offered by the practical slide scanners. Thanks to the special reproduction process, the unique photos are digitised and thus preserved for posterity in the long term.
How it works
Most slide scanners have a relatively compact construction, are designed for the classic 35mm format and are primarily used by private users. Medium-format models are also available in some cases. Slide scanners convert slides into digital images and thus enable the permanent preservation of old pictures. Many devices can process negatives as well as slides. In some cases, it is also possible to digitise old paper photos.
A slide scanner consists of several components. The actual scanning process takes place in the scanner; in addition, the device has a transparency unit that serves as a carrier for the slides to be scanned. The slide scanner illuminates the slide film, the integrated sensor (CCD or CMOS image sensor) scans the image pixel by pixel and an analogue-digital converter ensures that the captured data is transferred to a digital file. In the process, the sensor of the slide scanner also registers the colour depth of the individual pixels.
The different types
Different types of slide scanners are available on the market, which can be categorised into different groups in terms of their construction or sensor.
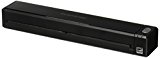
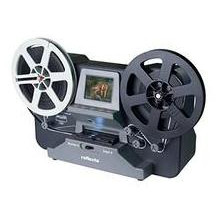
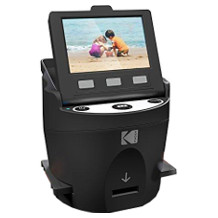
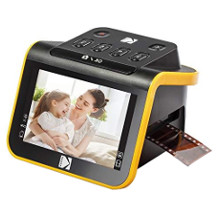
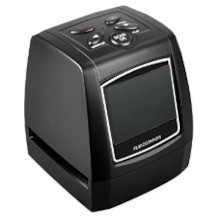
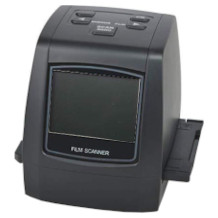
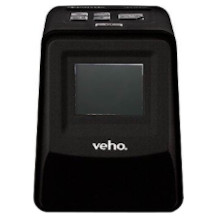
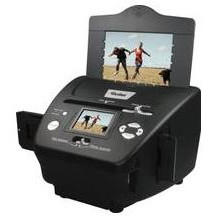
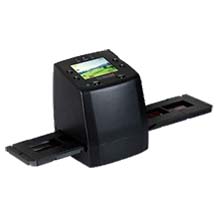
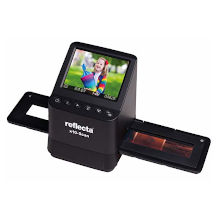
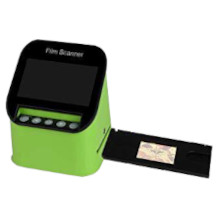
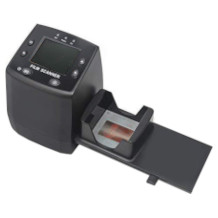
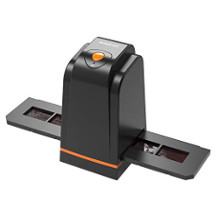
Portable slide scanners
Portable slide scanners are the most compact types. They are offered at comparatively low prices. This variant does not require a connection to a PC, as the data is stored in the scanner’s internal memory or on an SD card. The data can be transferred to the PC at a later time via USB without any problems. Thus, there are usually no compatibility problems.
Pro points
- Handy and compact
- No compatibility problems between PC and scanner
- Easy handling
- Partly equipped with preview display
- Favourable purchase price
Drawbacks
- Rather low scan quality
- Mostly not available as a combination device (for slides, paper images and negatives)
- Preview display usually very small
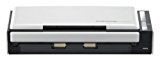
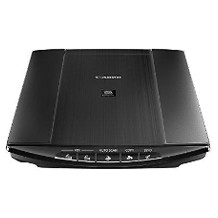
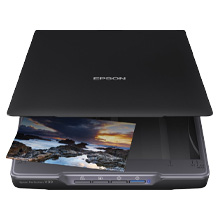
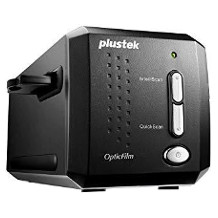
Stationary mid-range slide scanners
Compared to the portable versions, these models are usually considerably larger. Some representatives visually resemble flatbed scanners, other devices have a more square shape. With stationary mid-range scanners, a connection to a PC or laptop is required, as settings and scanning are realised directly via the computer using special software and storage is also carried out externally.
Pro points
- Good scan quality
- Easy handling
- Different resolutions
- High-quality scanning and image processing software
Drawbacks
- Connection to PC or laptop required
- Relatively long scanning time
- Only a few models with additional scanning function for paper photos
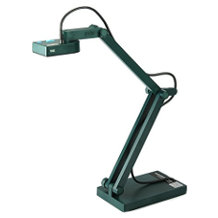
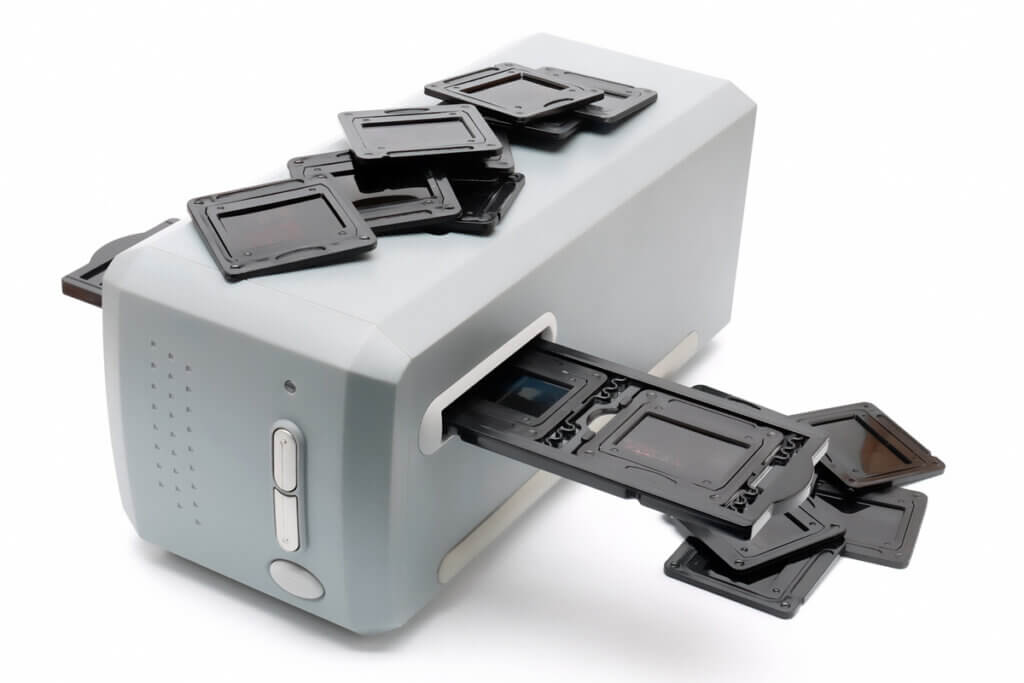
Stationary professional slide scanners
These devices are the first choice for professional photographers and demanding amateurs. Visually, they often resemble classic slide projectors or mini PCs. Compared to mid-range models, they are considerably larger and heavier, but on the other hand they also offer excellent scanning quality. Manufacturers usually use high-performance CMOS sensors and an energy-saving LED transparency unit for these devices. Most of the time, scanning is done from magazines, and common formats such as CS, Paximat, LKM and Universal are supported.
Pro points
- Excellent scan quality
- Uses magazines
- Enables automatic scanning
- High quality scanning and image processing software
- Good image preview
Drawbacks
- High purchase price
- Long scanning time
- Only suitable for slide scanning
- Connection to PC required
Scanner with CMOS sensor
Strictly speaking, the slides in this variant are photographed and thus not scanned. Nevertheless, the devices are called CMOS scanners. CMOS (Complementary Metal Oxide Semiconductor) sensors require little space and are usually built into compact slide scanners.
CCD scanner
These devices were developed specifically for digitising positive and negative film and are also called film scanners. Similar to the slide projector, the CCD scanner shines through the film material. The integrated sensor captures the image information; the image is then stored with high resolution. CCD sensors (charge-coupled device) have low image noise and high light sensitivity. A larger sensor always results in a higher image quality for the scans. These sensors are usually built into stationary slide scanners.
What matters when buying
Which slide scanner is the best choice depends on various factors. Consumers should consider their own requirements and inform themselves in detail about the different models before buying. The resolution and colour depth are the most important factors for the image quality of the digitised slide film. Basically, they should pay attention to the following factors when buying a slide scanner:
The resolution
Inexpensive scanners usually have a lower resolution. Portable slide scanners often offer 1,800 to 3,200 dpi, mid-range devices have a maximum of 7,200 dpi and professional devices offer an average of 5,000 dpi. Surprisingly, this is noticeably lower for professional scanners than for mid-range devices. However, this is the optical resolution.
If the small format is later to be viewed, edited or printed on the screen in a greatly enlarged form, a relatively high resolution is required. Conventional flatbed scanners only offer a resolution between 300 and 1,200 dpi. Slide scanners provide a much higher resolution and digitise at 1,600 to 7,000 dpi, depending on the model. Only professional drum scanners offer a higher resolution.
The colour depth
In terms of the broad and very dynamic colour spectrum, hardly any photographic medium can surpass slide film. Of course, this characteristic should also be preserved in the scans. For this reason, the colour depth of most slide scanners is between 24 and 48 bits (between 16.7 million and 281 trillion colour tones).
The formats
The image information is always saved in JPG format. With some slide scanners, additional file formats can be selected, for example RAW, PNG and TIFF. This makes it easy to edit the photos later with Lightroom or Photoshop. Depending on the model, the device saves the files in the internal memory, stores them on an SD card or transfers the data to the connected PC.
The software
In the mid-range and professional range, the use of the scanner requires the installation of special software, which is usually included in the scope of delivery. This is usually SilverFast SE or Cyberview. Alternatively, many private users rely on VueScan from Hamrick. The programmes enable optional scan storage as JPG, RAW or TIFF files and support different resolutions, colour corrections and an infrared scan for scratch and dust reduction. Common correction methods in the upper mid-range and professional sector are:
- ICE (dust and scratch correction).
- FARE (from Canon, dust and scratch correction)
- Auto Dust (from Minolta, manual dust removal)
- GEM (film grain smoothing)
- ROC (colour restoration)
Before buying a slide scanner, it is highly recommended to check the compatibility of the software and the home operating system.
The connections
A fast USB port is essential for optimal connectivity. If the scanned images are to be viewed directly on the TV, an HDMI connection may also be useful.
The scanning process
Inexpensive models all use the single-pass method: up to four slides can usually be inserted into the scanner’s carriage. Here, the scanning process takes a comparatively long time due to the manual slide change. This method is also used with many mid-range devices. Occasionally, there are models in this segment where each slide is inserted, scanned and removed individually. The scanning processes on high-end devices can vary depending on the model, so that either the slide model is used or the processing of entire magazines is made possible.
A question of budget
An important point is undoubtedly the available budget. Compact slide scanners are the cheapest options and usually offer good scanning results at a reasonable purchase price. Even though professional devices undoubtedly offer the best scan quality, the purchase of such an expensive device is usually not worthwhile if only a small number of old slides are to be digitised. Prospective buyers should always consider the budget, the intended use and the basic price-performance ratio as a holistic factor.
Preparing the slide scanner
Before using the slide scanner with connection to the PC, users must first install the supplied scanning software on the computer. This step is not necessary with portable devices. Setting up the slide scanner is done in a few steps:
- Connect the scanner’s mains plug to the mains.
- With stationary devices, a connection to the computer is established via USB cable.
- Caution: Some manufacturers explicitly state that the connection to the computer may only be made after the software has been installed.
- If the scanner can also scan negatives or paper photos, users must select the desired medium in the settings before scanning.
Some scanners come with a soft cleaning brush that can be used to gently clean the slides before scanning. This brush allows users to remove loose dust that would otherwise cause dust spots on the scanned image.