

 3,758 reviews
Mirrorless camera purchasing advice: how to choose the right product
- What You Need to Know
- Mirrorless cameras are cameras with interchangeable lenses. As a rule, the term describes mirrorless versions, also called DSLMs.
- Instead of the actual subject in the optical viewfinder, a digitally generated image appears on an LCD display or in an electric viewfinder.
- The larger the image sensor, the higher the image quality and the more expensive the device. For beginners and occasional photographers, a small sensor is sufficient.
- For moving subjects such as athletes or animals, a fast and precise autofocus and a high shooting speed are important.
- High-quality lenses are essential for professional pictures, but the range varies depending on the manufacturer.
What is a mirrorless camera?
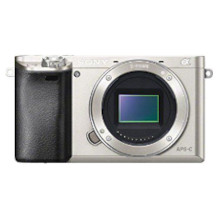
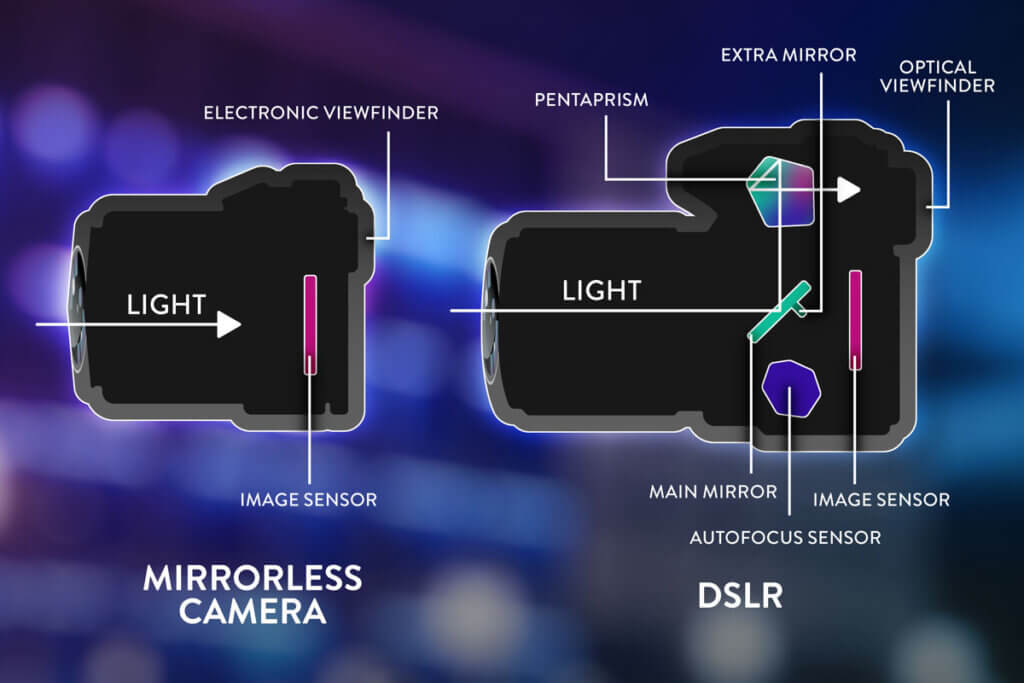
Mirrorless cameras are the first choice for high-quality photography. Basically, all cameras with interchangeable lenses belong to this category – SLR cameras as well as mirrorless cameras. In everyday language, however, “system camera” mainly refers to the mirrorless variant, which is also known as DSLM (“digital single-lens mirrorless”); SLRs or DSLRs (“digital single-lens reflex”) are a separate category. DSLMs do not need a mirror mechanism to direct the incoming light to the viewfinder. The light hits the image sensor directly, which converts it into a digital image that then appears on an integrated display. While many entry-level models only have an LCD screen, more expensive models have an electric viewfinder, where the photographer also sees the image on a small screen when looking through the hole in the viewfinder.
If the photographer configures camera values such as aperture, exposure time and ISO, he can see the effects there immediately: the viewfinder image corresponds exactly to the later shot. This is why the electric viewfinder, along with its small size, is a clear advantage of DSLMs over DSLRs. Compared to compact cameras, mirrorless cameras score with their choice of interchangeable lenses.
Two systems: traditional all-rounder versus modern photo wonder
Both types of mirrorless cameras, DSLM and DSLR, feature a housing, an image sensor, a viewfinder and interchangeable lenses. That is why they share the first three letters “DSL”. “SL” stands for “single-lens” and refers to the fact that these cameras only work with a single lens. This distinguishes them from older SLR cameras, which had two lenses: one for shooting and one for the viewfinder. D” stands for “digital”, so these cameras do not work with film but with a digital image sensor The last letters indicate the biggest distinction between the designs: the “R” stands for “reflex” and refers to the reflection of light with a mirror, whereas the “M” stands for “mirrorless” and refers to the absence of a mirror.
The classic: reflex camera
When the photographer points the SLR camera at a subject, the light passes through the lens and hits a mirror structure. This reflects the image and guides it via a prism into the optical viewfinder – the opening on the back of the camera through which the photographer looks to select the picture frame. The optical viewfinder shows the “real” image of what is happening in front of the camera lens. When the shutter button is pressed, the mirror flips up and the light shines onto the sensor, which receives and stores the image from the camera.
Mirrorless system camera versus SLR camera
Mirrorless cameras and SLR cameras both allow you to change lenses and are now on a par with each other in terms of image quality. The main difference is the construction – with mirror or without – which influences the camera features, handling and functions.
Mirrorless cameras are smaller and easier to handle than SLR cameras, but this is not necessarily an advantage. Compact mirrorless cameras are easy to carry, but for photographers with large hands, the models may be too small to handle comfortably. For them, there are appropriately sized mirrorless cameras on the market.
Silent shooting is a feature of DSLMs. This is not possible with DSLRs because the mirror makes a clicking noise when it is folded up. On the other hand, the mirror design ensures that the image sensor is not continuously irradiated and thus heats up. This heating produces more image noise.
Different viewfinders
DSLRs are equipped with an optical viewfinder, or OVF (“Optical Viewfinder”), while DSLMs rely on an electrical version, the EVF (“Electronic Viewfinder”).
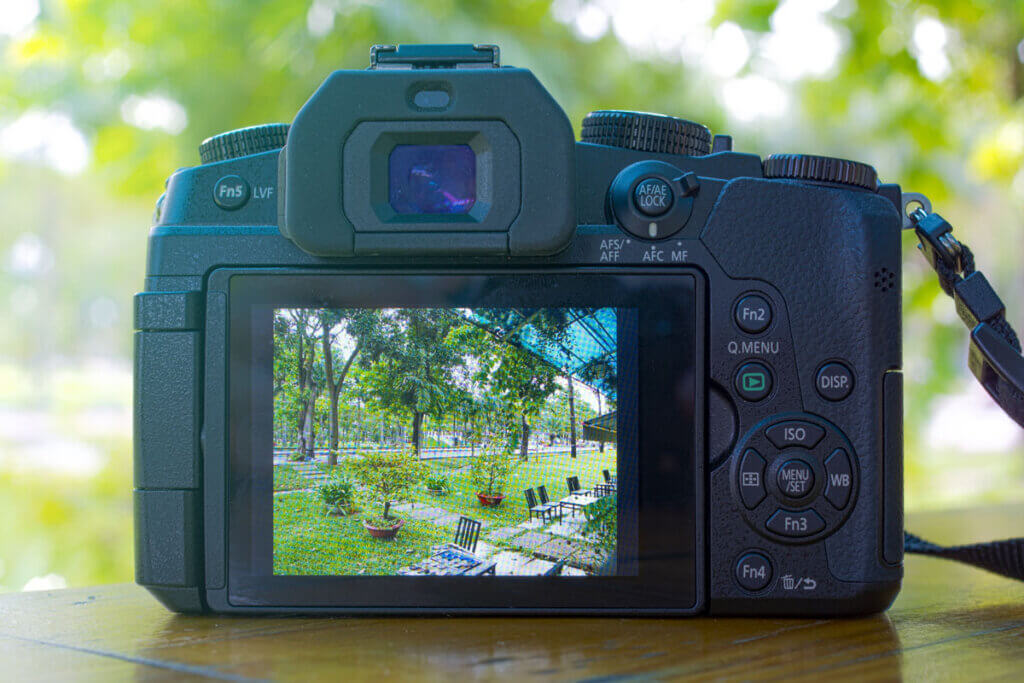
With an optical viewfinder, the user looks directly at the unfiltered image, which, however, does not necessarily correspond to the final result: The various camera settings cannot be seen in the OVF. For example, it is only apparent afterwards whether the image is too bright or dark. An electronic viewfinder, on the other hand, is a small screen that displays the image data transmitted electronically from the sensor. With an EVF, the user cannot see what is actually happening, but he can see in the viewfinder how the settings affect the image before the shutter is released. These include image effects and filters, which is particularly pleasing to social media enthusiasts.
Displays such as focus points and guide lines are also integrated in optical viewfinders and can be adjusted by wheel or knob. Electronic viewfinder .
The biggest disadvantage of an electric viewfinder is its high power consumption. It requires a continuous power supply, which significantly reduces the battery life of a mirrorless camera. DSLMs manage an average of 300 to 400 snapshots per battery charge, only a few models allow 600 to 700 photos. Optical viewfinders, on the other hand, work without power, which is why there is no need for an extra battery to replace during long photo shoots with an SLR.
Changing autofocus
Autofocus, or AF for short, ensures that the desired subject appears sharp. Two different autofocus methods are used in current cameras: fast phase-detection autofocus and contrast autofocus.
SLR cameras work with a separately installed phase detection AF as well as a contrast AF that uses the image sensor and is used during live view mode. Phase detection AF is not available in live view mode or during video recording, as the mirror is permanently tilted upwards in these cases and the light never reaches the AF sensor.
Mirrorless cameras usually use contrast autofocus. This works more slowly because the contrast can only be measured in several attempts, while only one pass is required for phase detection. For moving subjects, such as fast-paced sports shots, contrast autofocus tends not to be fast or precise enough.
Some mirrorless cameras use a hybrid autofocus that combines both methods: It reserves a few thousand pixels for an additional phase detector on the image sensor. This allows the camera to switch between both AF modes depending on the shooting situation and camera mode, and to keep up with DSLR autofocus to a large extent.
In video recording, SLR cameras have the disadvantage that only the autofocus on the image sensor is available. This eliminates phase detection and thus the advantage over mirrorless cameras with contrast autofocus. DSLMs with hybrid AF are even more recommendable for videos.
The continuous shooting speed of a mirrorless camera is usually higher because the mirror does not have to be raised for each picture. However, this is only an advantage if the autofocus is fast enough to ensure sharp subjects.
That little extra: equipment
Mirrorless cameras are relatively new. The first model appeared in 2008. DSLRs, on the other hand, have been built since the early days of digital photography and are based on analogue predecessors that have stood the test of time. Therefore, the choice of lenses for DSLMs is much smaller than for DSLRs. Depending on the manufacturer, the difference is very striking. For example, the manufacturers Canon and Nikon only released their first full-frame mirrorless cameras and matching lenses in 2018. The selection of DSLRs and matching lenses from these manufacturers, on the other hand, is enormous.
How to choose the ideal mirrorless camera
The ideal mirrorless camera depends to a large extent on the experience of the prospective buyer as well as the field of application. Beginners are quickly overwhelmed by expensive professional equipment and its extensive features, while experienced photographers can get the best out of these devices. When you buy a camera body, you are also committing yourself to the manufacturer’s system, because almost everyone installs their own connection system to connect the lens to the body system.
Well-known brands
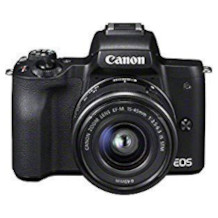
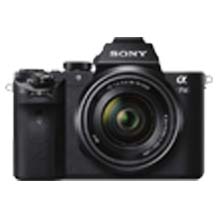
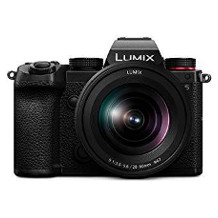
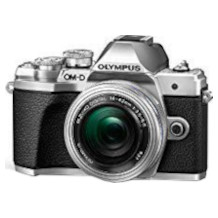
Canon |Fujifilm | Leica | Nikon | Olympus | Panasonic | Pentax | Samsung | Sigma | Sony
The external values: housing, handling and features
The housing of a mirrorless camera is usually made of plastic or robust light metal. Although plastic housings can also be quite robust, the metal housing of a high-priced camera is much better able to withstand unintentional knocks and bumps. If you often take pictures in nature or travel with your camera, you should look for a model that is protected against splash water and dust.
Every photographer will judge differently whether a camera feels good in the hand. Subjective perception also plays a major role in user guidance. Nevertheless, there are some points that help in choosing a handy and user-friendly device. For example, if you have large hands, a large device is often easier to use. A model with rubberised grip surfaces is more comfortable to hold than the non-rubberised version. The controls should be easy to reach and sensibly arranged. Small models often do without some buttons or dials due to lack of space. In this case, the setting options are either completely missing or can only be reached via the touchscreen.
How many controls are necessary depends on the experience of the user: for advanced and professional photographers, there may not be enough setting options. They need a camera that they can adjust precisely to suit their own needs in order to flourish.
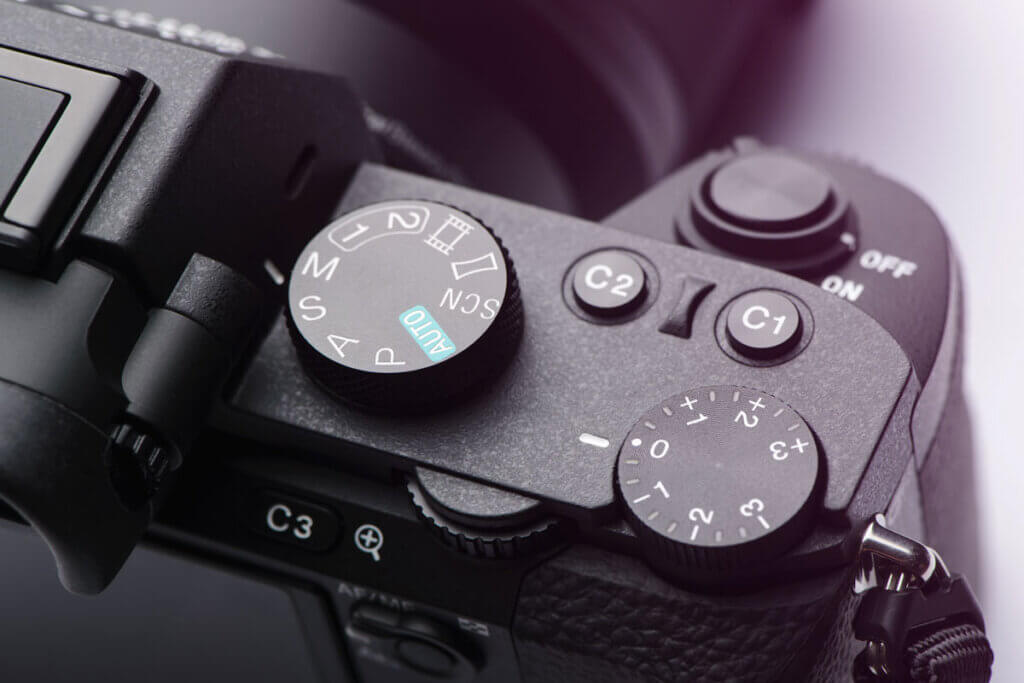
For beginners, too many controls quickly become confusing. Those who want to learn the craft of photography need at least controls for ISO, metering, shutter speed as well as aperture so that they can steadily gain experience.
Do beginners need a mirrorless camera with an electric viewfinder?
Many inexpensive entry-level mirrorless cameras do not have an electric viewfinder. Instead, they rely solely on the display. While the settings that are possible on a mirrorless camera may initially seem confusing to beginners and thus seem unnecessary, the viewfinder also offers a decisive advantage for this target group: in strong sunlight, the subject can hardly be seen on the camera display. If, on the other hand, the photographer looks at the small screen in the electric viewfinder, he can see the image clearly even in bright ambient light. In addition, details can be better assessed because the image on the display only takes up part of the field of vision. For this reason, models with viewfinders are recommended even for photography beginners. If you only want to take a few pictures occasionally, for example on holiday, you can choose a model without an electric viewfinder instead.
The image sensor: the heart of every mirrorless camera
A good image sensor is more important than a high number of pixels. The larger the sensor, the better the image quality. If it also has good noise performance, the camera will produce only slightly noisy images even at a high ISO value above 1,600. A high dynamic range increases the possibilities for image processing, so that dark areas, for example, can be easily corrected without losing details.
Four sensor sizes are available for mirrorless cameras. The smallest variant is the so-called Micro Four Thirds sensor, or MFT for short. It has a size of 17.3 x 13.0 millimetres and can be found in DSLMs from Panasonic and Olympus. Cameras with this sensor are suitable for beginners and anyone who mainly shoots photos for social networks such as Instagram.
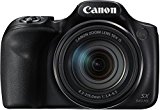
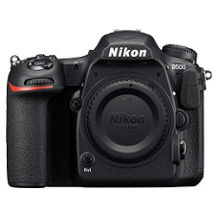
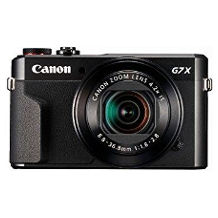
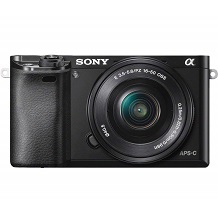
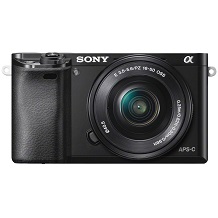
The next largest type is the APS-C sensor, whose exact dimensions depend on the manufacturer. Canon, for example, installs image sensors measuring 22.2 x 14.8 millimetres, while Nikon’s are 23.7 x 15.6 millimetres. This sensor size is also well suited for social media. APS-C sensors tend to be found in entry-level and mid-range models such as the Sony Alpha 6000 series or Canon’s M series and already deliver good images. Beginners as well as those looking for a powerful yet compact travel camera can find what they are looking for among the devices with APS-C sensors.
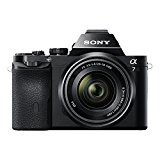
Full-frame sensors measure 36 x 24 millimetres and are thus as large as the negative of a 35mm film. System cameras with full-frame sensors are ideal for advanced photographers, as they not only deliver excellent image quality, but usually also have many setting options. These variants belong to the high-priced products of manufacturers, such as the Sony Alpha-7 series, Canon’s R series or Panasonic’s S series.
The most detailed images are produced by medium format sensors, which have a size of 43.8 x 32.9 millimetres at Hasselblad and Fujifilm, for example. However, because medium format cameras are large and expensive – usually between 5,000 and 50,000 euros – they are only advisable for professional photographers who, for example, take advertising photos in a photo studio, not for amateur photographers.
How high should the resolution be?
With modern cameras, the resolution is usually sufficient. Much more important for the imaging performance is the size of the image sensor. Larger sensor pixels absorb more light than small, closely spaced sensor pixels, which means less noise. System cameras with a small sensor and high resolution have a particularly high level of image noise. The lens is also a limiting factor: A high sensor resolution is of no use if the optics are not sharp enough to exploit it.
The print resolution
If you want to print your photos, you don’t necessarily need a very high resolution: very few people look at very large photo prints up close. Instead of a top print quality of 300 dpi (“dots per inch”), 150 dpi may be enough. For prints that are to be admired from a distance of two metres, a resolution of at least 75 dpi is recommended. Print quality, maximum print size and sensor resolution are interdependent.
| Sensor resolution | Maximum possible print size with 300 dpi | Maximum possible print size with 150 dpi | Maximum possible print size with 75 dpi |
| 12 megapixels | 36 x 24 centimetres | 72 x 48 centimetres | 144 x 96 centimetres |
| 18 megapixels | 44 x 29 centimetres | 88 x 58 centimetres | 176 x 116 centimetres |
| 24 megapixels | 51 x 34 centimetres | 102 x 68 centimetres | 204 x 136 centimetres |
| 30 megapixels | 57 x 38 centimetres | 114 x 76 centimetres | 228 x 152 centimetres |
| 42 megapixels | 67 x 45 centimetres | 134 x 90 centimetres | 268 x 180 centimetres |
| 50 megapixels | 74 x 49 centimetres | 148 x 98 centimetres | 298 x 196 centimetres |
| 60 megapixels | 81 x 54 centimetres | 162 x 108 centimetres | 324 x 216 centimetres |
For example, the Sony Alpha 7R IV professional mirrorless camera has a resolution of 61 megapixels. If you want to print with a quality of 300 dpi, the maximum print size for sharp results is 81 x 54 centimetres. With a quality of 150 dpi, a size of 162 x 108 centimetres is possible, and with 75 dpi you create 324 x 216 centimetre print products.
Speed and autofocus are interrelated
If you want to capture moving subjects such as a sporting event or animals at a race, you need a camera that can take many pictures in a short time and produce sharp results. In addition to a high continuous shooting rate, a fast autofocus is therefore also important.
The classic autofocus principle used in mirrorless cameras is contrast detection. This tends to work more slowly than phase-detection autofocus, but manufacturers are constantly improving the speed of contrast AF systems. The contrast systems of many current professional cameras are in no way inferior to the phase-detection models.
Some mirrorless cameras also have hybrid AF, which has a positive effect on the speed of AF. For those who want to capture subjects in motion, a device with hybrid autofocus is recommended. These models are now also available in the medium price range: so you don’t have to pay several thousand euros.
The continuous shooting rate indicates how many pictures can be taken in one second. For everyday use, five to eight pictures per second are usually sufficient, for sports and wildlife photography ten or more shots per second are advisable. But pay attention to the memory format: the high continuous shooting rates that some manufacturers advertise are usually only achieved in JPEG mode. They are much slower in RAW mode.
What is important for video recording
Nowadays, cameras not only have to take high-quality pictures, but also record perfect videos. Most current mirrorless cameras have a 4K mode, so resolution is not a significant purchase criterion. More important are the connections, for example for an external microphone. The camera’s built-in microphone often does not meet the demands of those who are more involved with video recording, because manufacturers tend to cut corners on this point. It is therefore advisable for aspiring videographers to look for an AUX and a jack connection.
Good image stabilisation in the camera or lens is particularly recommended for video recordings, as it greatly reduces camera shake. If the device has both electronic and optical image stabilisation, shaking is reduced to a minimum.
Quick and easy to achieve the desired result
All mirrorless cameras store images in two formats, depending on your needs: the raw data format, or RAW for short, and the JPG format. Advanced and professional photographers appreciate the many possibilities for post-processing in RAW format. When using the JPEG format, on the other hand, the camera makes many adjustments automatically and saves an optimised image that the user can use immediately. Therefore, this format is ideal for all those who want to quickly achieve convincing photos. However, manual post-processing is only possible to a limited extent.
For occasional users who want to take beautiful pictures while on holiday, for example, a good automatic mode that makes the appropriate settings on the camera is advisable. For beginners, a semi-automatic mode is recommended, where they can adjust the camera’s automatic settings and slowly work their way up to manual mode.
An image stabiliser ensures that shots are not blurred. However, an integrated image stabiliser in the camera body is not absolutely necessary, as some lenses are equipped with their own image stabiliser. Whether the image stabiliser is in the body or in the lens depends on the manufacturer: Canon, for example, has it in the lens, while Sony has it on the sensor. If you plan to buy a lens with this addition, you can save it in the body.
On many mirrorless cameras with an electronic viewfinder, you can add image effects and filters directly in the camera. Even before the shutter is released, you can see the effects on the picture. For those who like to share their shots on social media sites, a device with a large filter and effect selection is handy.
Lenses are not to be neglected
Lenses are usually more important than the technical features of the body: they influence the optical performance and image quality of the camera to a great extent. They are also more durable than the body, as the optical performance of high-quality lenses improves only slowly. Therefore, the lenses often cost much more than the camera itself.
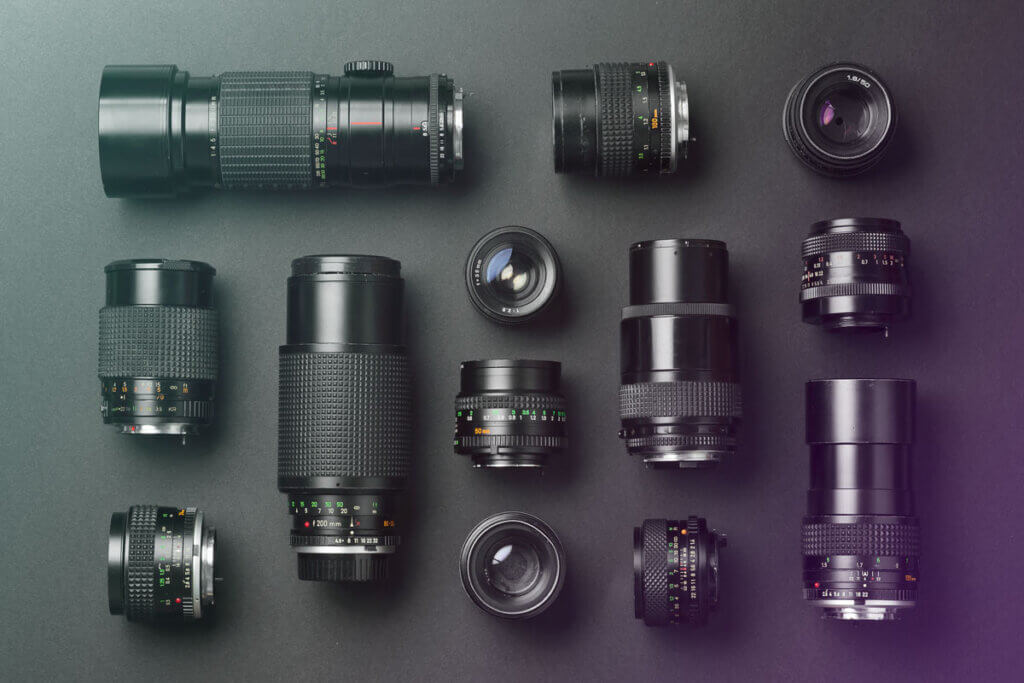
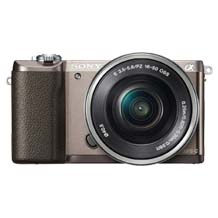
Many mirrorless cameras come with a kit lens. This is usually a zoom lens with a standard focal length of 16 to 50 or 18 to 55 millimetres. Such kits are practical for beginners in the photography trade, but they do not come close to high-quality lenses.
The range of lenses varies from brand to brand. Since most manufacturers work with their own connection system, it is advisable to pay attention to the available lenses when choosing a camera body. With the help of special adapters, SLR lenses can also be used on mirrorless cameras. For those who already own some SLR lenses from an older camera, the adapter is particularly practical.
Important connections at a glance
Sony and Canon each have two mounts for mirrorless cameras in their range. The Sony E-mount is used on models with APS-C as well as full-frame sensors, while FE-mount lenses have their place with larger full-frame sensors. Canon uses an EF-M lens mount for its products with APS-C sensor, while full-frame variants are equipped with RF bayonet.
The Micro-Four-Thirds bayonet is fitted to models from Panasonic and Olympus. Those who own a camera with Micro-Four-Thirds have a choice of more than 130 lenses.
The L-mount connection of the manufacturer Leica is a special case. After the company joined forces with Panasonic and Sigma to form the so-called L-mount alliance, the three manufacturers brought out cameras and lenses with the mount. They can be combined with each other.
These lenses are available
Lenses are distinguished from each other by their focal length. This is the distance between the lens and the focal point where the incoming light rays are focused. With smaller sensors, a smaller focal length should be chosen. Basically, lenses can be divided into fixed focal lengths and zoom lenses.
Fixed focal lengths are lenses with a single unchanging focal length. With these lenses, the field of view can only be changed by the photographer’s movements. Although fixed focal lengths are not flexible, they are very fast, which means that photographs can often be taken without flash even in poor lighting conditions.
In contrast to fixed focal lengths, zoom lenses have a variable focal length. The adjustment is made by means of several movable lenses inside the lens. Depending on how the user changes the distance between the lenses, the subject appears closer or further away.
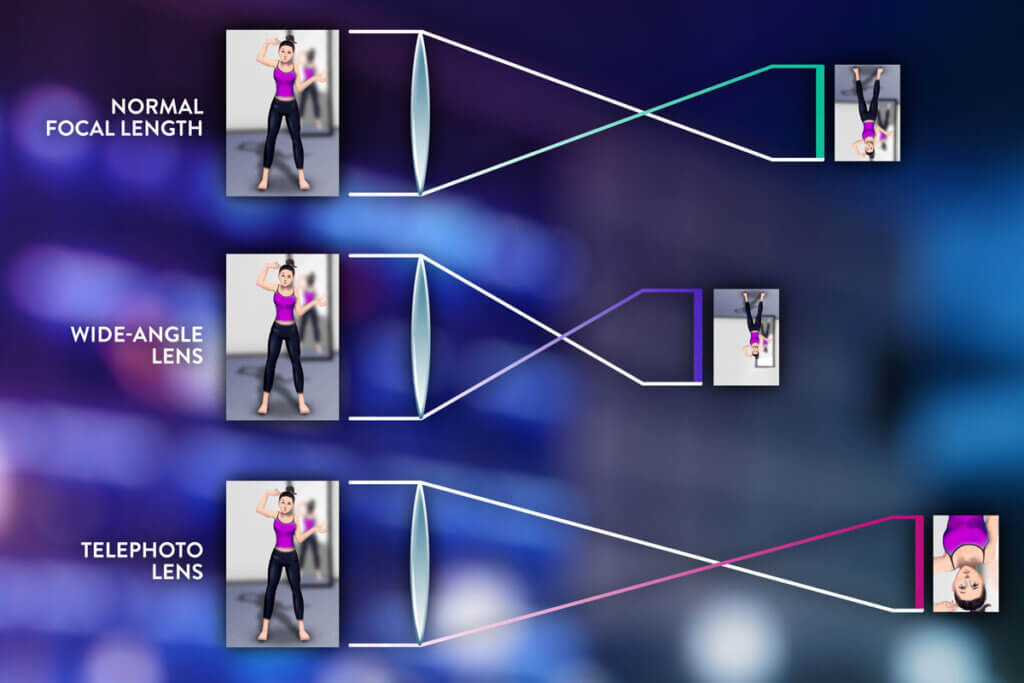
Focal lengths are further divided into ranges based on their size and resulting function:
- Ultra-wide angle: focal lengths smaller than 20 millimetres
- Wide-angle: focal lengths smaller than 50 millimetres
- Normal lens: a focal length of about 50 millimetres
- Telephoto lens: focal lengths greater than 50 millimetres
- Ultratele lens: focal lengths greater than 300 millimetres
The normal lens has a focal angle of 50 degrees, which corresponds roughly to the angle of view of the human eye. With a wide-angle lens, the focal point is closer to the lens and the angle of view is therefore larger. The photographer sees more of the subject at the same distance than with a normal lens. With telephoto lenses, the reverse is true. Since the distance between the centre of the lens and the focal point is greater, distant subjects can be photographed at a narrow angle of view. So you see less of the subject, which consequently appears larger.
How can the focal length be converted for different image sensors?
The focal length specifications for lenses apply to full-frame sensors. Smaller sensors show a smaller image section for the same focal length. The subject appears closer, giving the impression of a longer focal length. The factor by which the focal length must be multiplied to obtain the equivalent full-frame focal length is called the format or crop factor. Smaller sensors are referred to accordingly as crop sensors. With a crop factor of 1.6, a 100-millimetre lens shows the image detail of a 160-millimetre lens of a full-frame camera. To get a 35 mm equivalent of 100 millimetres with a 1.6 crop, the lens should measure around 63 millimetres. The crop factor can be found in the description of the desired camera model or the model’s product range.
Learning to take photographs – tips and tricks
As with other artistic disciplines, learning to take photographs takes time and practice until the result is as good as the idea behind it. The following tips will help take your skills to the next level.
Tip 1: Get to grips with camera settings
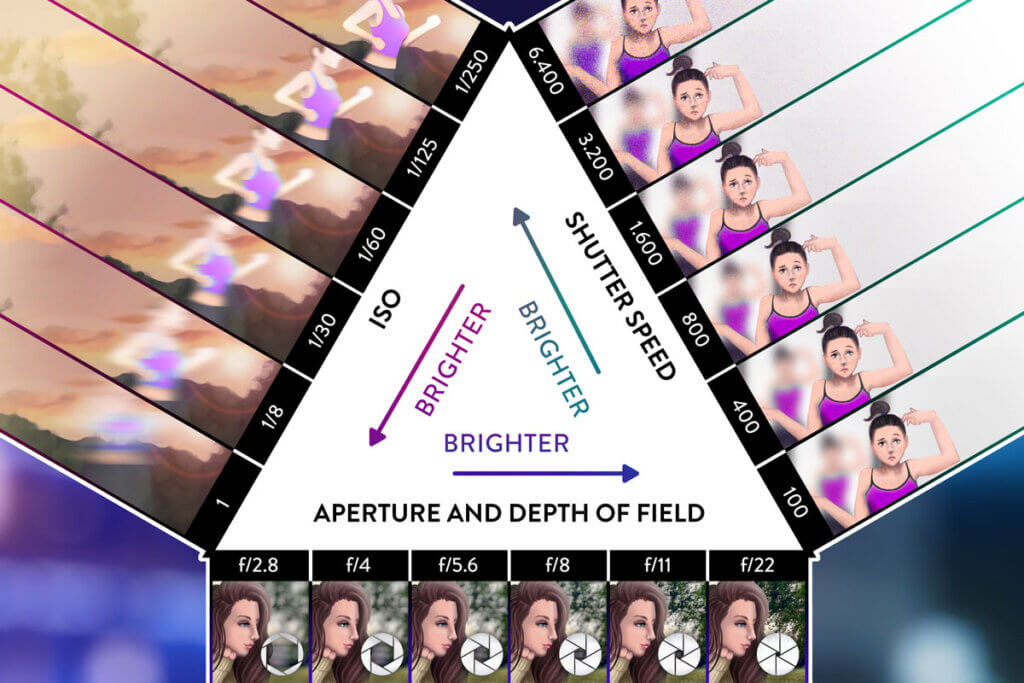
First of all, it is advisable to familiarise yourself with the most important camera settings and learn how they influence each other. These include aperture, light sensitivity or ISO and shutter speed.
The aperture affects how much light passes through the lens. It appears as an f/ and a number, such as 1.8, 2.8 or 5.6. The higher the number, the less the aperture is open. With the help of the aperture, photographers control the depth of field: a low f/ number, for example, creates blur in the background.
The ISO number controls how sensitive the camera sensor is to light. A high light sensitivity ensures that less light is needed for optimal exposure. In good ambient light, a low ISO number between 100 and 200 is recommended, while an overcast sky or evening light requires numbers between 400 and 800. A high light sensitivity, on the other hand, often produces image noise.
Exposure time, also known as shutter speed, also affects how much light reaches the sensor. A fast shutter speed means that the aperture is only open for a fraction of a second. A longer exposure time results in a lot of light in the camera as well as natural camera shake.
If you know the correlation between the three, you can adjust the knowledge for each motif. A short exposure time, for example, requires more light, which can be created by increasing the ISO number as well as opening the aperture.
Tip 2: Consider perspective and cropping
When choosing a motif, it is advisable to concentrate on the essentials: Too many details distract from the main subject. Take your time before photographing the subject and consider whether the cropping and perspective you have chosen will bring out the best in the image. Move closer or further away from the subject or change the focal length, perhaps crouch or move to the side. If you have no experience in picture composition, try it out until you are satisfied with the result.
As an introduction to picture composition, the rule of thirds is suitable, in which you first place the picture two horizontal lines and like vertical lines evenly. Then position the main subject on one of the crossed lines. The grid in the viewfinder makes it easier to implement this method.
Tip 3: Consider the time of day
In addition to perspective and framing, the available light is also important. Although the lighting conditions can be adjusted with aperture, ISO and exposure time, this is only partially successful in strong sunlight or at night.
Therefore, it is advisable to avoid the strong midday sun. For specific night-time motifs, it is advisable to open the aperture as much as possible and adjust ISO and exposure time accordingly. Watch out for image noise, which often occurs at high ISO.
The hour after sunrise or the hour before sunset is suitable for atmospheric pictures: The low sun bathes the surroundings in orange-reddish light. The hour of sunset shines with a particularly blue sky.
Tip 4: Don’t put yourself under pressure
Learning to take photographs takes time and practice. Shoot a lot of pictures and deal with the results. Most of the time you will see things that you could have done better. The insights can be applied to the next photos. The most important thing is to have fun with photography and not to give up.