


 244 reviews
3D printer purchasing advice: how to choose the right product
- What You Need to Know
- 3D printers can produce models from various materials according to instructions with high precision.
- The once very expensive 3D printers are now also affordable for the masses.
- There are different production processes that are recommended for different requirements and cost different amounts.
- Some kits include only part of the printer. Required additional components such as connectors are gradually produced by the printer itself.
What is a 3D printer?
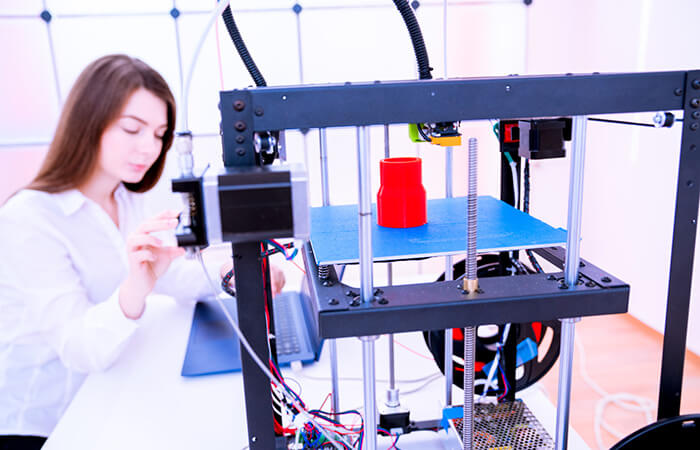
For a long time, 3D printing was only considered a hobby for nerds with a bulging wallet. In the meantime, this technology has become indispensable not only in industry and medicine, but is also finding its way into more and more German hobby and tool basements. Purchase prices of sometimes less than 300 euros make it possible.
A large field of application can be found in industry: here, 3D technology is used to produce prototypes of an object, for example, which is then tried out, examined and subsequently produced in series; perhaps even without the 3D printing process. In medicine, the technology plays an important role. For example, prostheses can be made with millimetre precision, for example of hip bones or the jaw. In the hobby sector, users use it to make needed spare parts, such as screws or other connecting parts, or to try out printing a specific object, such as an action figure or a flower vase.
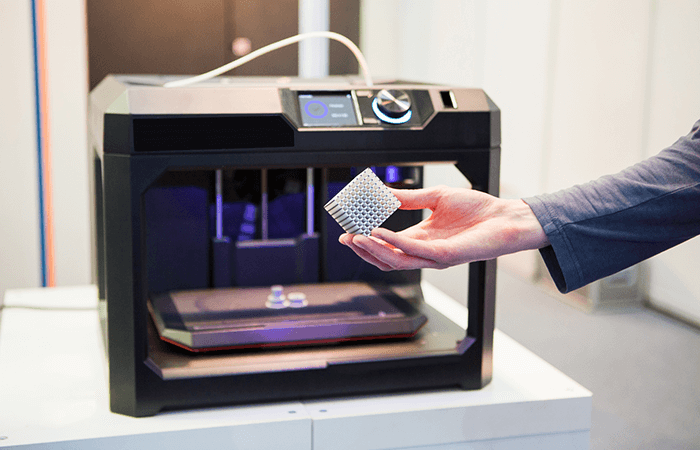
A 3D printer can reproduce almost any object in great detail with a suitable assembly instruction. Moreover, users can reproduce the model replica as many times as they like. The production time is shorter and the individual production is cheaper than with conventional methods. All the user needs, apart from the printer and the printing material, is a file with the building instructions – whether measured and made by himself or downloaded from the Internet, for example. The device then prints the models one-to-one according to this construction plan. The accuracy of common 3D printers is very high: some models have a deviation of only 0.2 per cent. Therefore, with such 3D printers, the true-to-scale production of objects is possible – even with moving parts and in multi-coloured versions.
Additive Manufacturing (AM)
3D printing, also known as additive manufacturing (AM), additive manufacturing, generative manufacturing or rapid technology, is a collective term for all manufacturing processes in which a liquid or solid raw material is formed or assembled into a three-dimensional object by computer control according to specific specifications. In this process, the heated and liquefied material is applied layer by layer to an object via a nozzle according to a concrete construction plan in an injection chamber. Additive means that material is added and not removed as in milling or drilling.
Preceding processes: Milling and injection moulding
Milling and turning can be regarded as a technical predecessor of 3D printing. In this process, so-called original forms, i.e. workpieces, are brought into shape by material removal. It is therefore an opposite method to 3D technology. In the milling and turning technique, a large blank is reduced in size by material removal and the object is thus brought into the desired shape. If larger workpieces are the goal, they must be assembled from several small individual components. To take an illustrative example, in simplified terms the process could also be compared to sculpture.
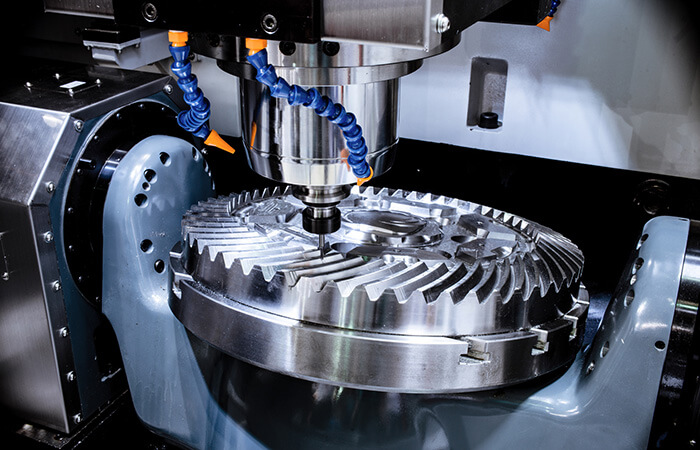
A newer and more advanced form is injection moulding, which is used to produce larger and more complex objects in one step. In this process, plastic is usually used as the material. It is heated and then pressed into the desired shape with the help of a negative. The prime example of a product made in this way is a Lego brick.
In a way, 3D printing is similar to injection moulding. However, 3D printing does not require a negative. Rather, the digital 3D model is translated into machine-readable code and the construction is then done layer by layer in exactly the desired location.
Use in production
In the past, prototypes and model samples were often produced manually in industry by using cardboard, foam or clay. Nowadays, computer-controlled 3D printers take over this task. This way, companies can save a lot of time and money.
Conceivable other areas of application
Partly in the development stage, partly already in use, 3D printers are present in the following fields:
- Medicine (implants and prostheses, dentures, hearing aids).
- Science
- Fashion & jewellery (templates for rings, necklaces)
- Car accessories, aerospace (lightweight and durable parts)
- Food (still being tested)
Kit or finished model?
There are 3D printer models available on the market that are already fully assembled, as well as those whose components customers have to assemble themselves. Both variants have advantages and disadvantages. The choice for or against a variant depends on the extent to which users can adapt the printer to their personal needs.
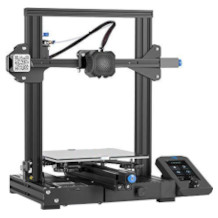
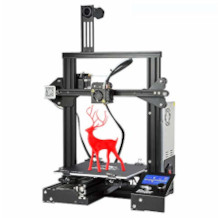
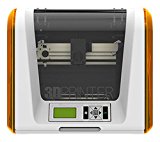
3D printer kits
The central advantage of the kits is their comparatively low price: users can save a lot of money on models starting at 300 euros. Models that the user assembles and builds himself also offer the possibility of expanding the units with individual components that meet personal needs. This makes continuous technical updating possible. The construction plans are usually published as open source. Interested parties therefore have the opportunity to view the construction plans. Some models, for example so-called RepRap printers, can print the necessary components for an update themselves. Disadvantage: To be able to build a kit into a functioning 3D printer, a certain amount of technical knowledge is required.
RepRap
RepRap devices are special 3D printers that are used to quickly produce sample components based on design data. The abbreviation stands for Replication Rapid Prototyper. The blueprints are under the GNU General Public License, a set of agreements that guarantees free redistribution. Because of this and the fact that the printer can produce many of its components itself as often as desired, such devices are comparatively cheap.
3D printer kits are suitable for hobbyists and tinkerers with some previous technical experience. Users who have never installed a circuit board or soldered on a component are not advised to buy one. One argument in favour of devices whose components the user assembles himself is the price advantage. Compared to assembled devices, buyers can save up to 500 euros. Hobby hobbyists have to reckon with prices between 300 and 2,000 euros. The cheapest models usually consist only of a plastic frame. For cost reasons, the manufacturers do without an attractive design.
Pro Points
- Cheaper than ready-made printers
- Repairs and updates of components possible
Drawbacks
- Technical dexterity required
- Design less appealing
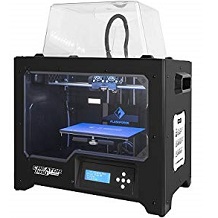
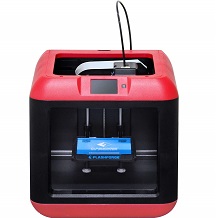
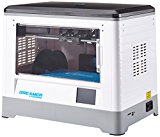
3D printer ready-made models
According to their name, 3D printer finished models are already completely assembled. This means that it is a final product with precisely tailored software. In most cases, this is also more user-friendly, as it can be operated intuitively, unlike the programmes for kit devices. The pre-assembled components and the design make a hardware upgrade to bring the unit up to the latest technical standard much more difficult. This ensures that the units become obsolete comparatively quickly. Spare parts can usually only be obtained from the manufacturer and are correspondingly expensive. The same applies to repairs, which can only be carried out in specialist workshops.
It is a product that can also be put into operation by users without any technical knowledge: Simply unpacking it is enough to start printing. Depending on the version, prices range from 300 to 8,000 euros.
Pro Points
- Comparatively complicated assembly is no longer necessary
- Coherent overall design due to fixed frame
Drawbacks
- More expensive than kits
- Technical upgrading not possible in most cases
Purchase criteria – depending on the intended use
Depending on the model and price range, the type of production and the quality of the finished 3D model differ. We will go into the details.
Print layer height: Fineness of the output material
The thickness of the material from the print head is between 0.02 and 0.2 millimetres. If the model is to have a very high level of detail, the nozzle must have the smallest possible print layer height. The smaller this height, the less noticeable the individual printed layers are in the print result. The print layer height ultimately also influences the price of the device: the more filigree the layers should be, the higher the price of the device.
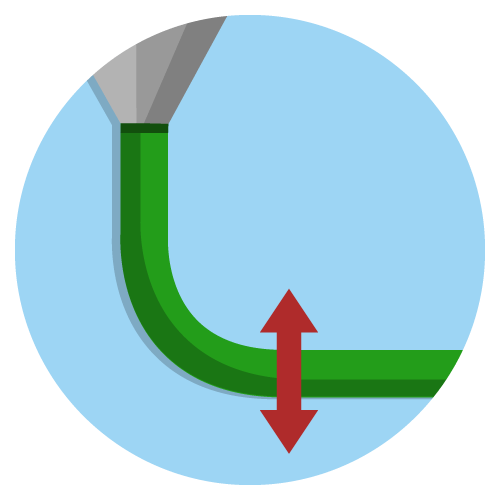
Print nozzle: material heating and outlet control

The so-called extruder and the outlet nozzle (hot end) heat the material (for solid print materials). The unit ejects the material layer by layer via the nozzle. Most printers have only one extruder. For professional use, printers with two extruders are recommended, because they allow different materials to be used at the same time. This is recommended for printing support structures, for example. For example, a water-soluble support material can be output via the second extruder, which users can easily remove after printing is complete.
Build space: decisive for the maximum build volume of the models
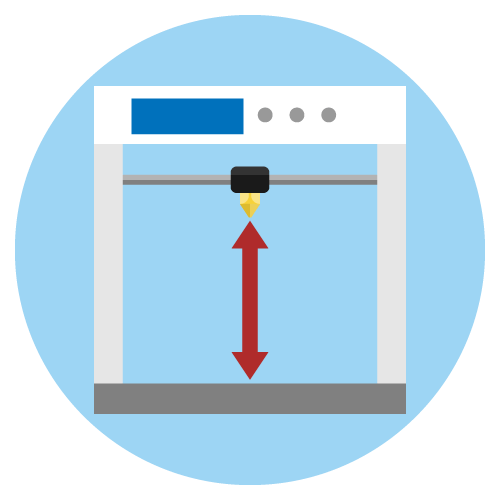
The size of the build space in height, width and depth determines the maximum build volume of the objects. The dimensions are also called x-, y- and z-axis. Modern models have a build volume between 10 by 10 by 10 and 25 by 25 by 25 centimetres. Printing space sizes beyond this are still unaffordable for private individuals.
Print bed: elementary for the print result
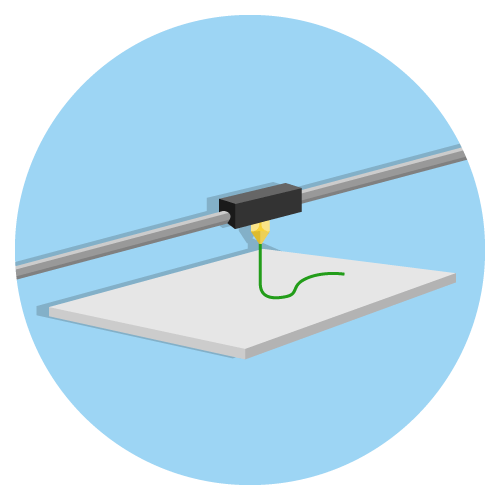
The print bed is the surface on which the model is built up in layers. Depending on the printing process, the plate can be solid or move in a horizontal or vertical direction. It is also important that the object adheres well during the printing process and that it can be removed easily after completion and cooling time. Especially with self-assembled printers, the retrofitting of a higher quality print bed is uncomplicated. Even heatable beds are available nowadays. These make it much easier to remove the workpiece after printing has been completed.
Print speed: mostly irrelevant for home use

The print speed (in millimetres per second) indicates how much material can be output in what time. High-quality models reach 300 millimetres per second, but are not affordable for home users. Devices for hobby users often only achieve 50 to 100 millimetres per second. Since the throughput for home use is not too high, it is usually not a problem if users have to wait two to three hours for the result. Besides the pure printing speed, how much time the material needs to cure also plays a role.
File formats: Many ways lead to the goal
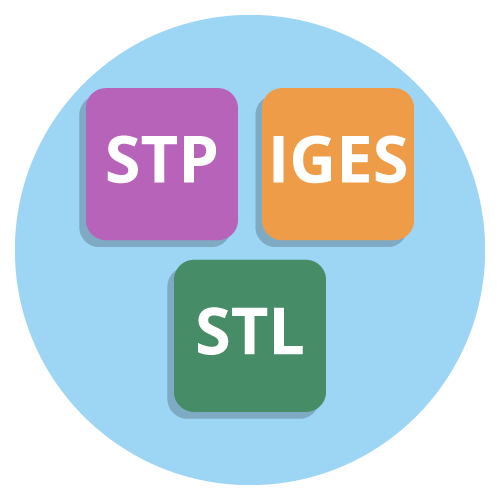
3D printers can process files that users have either created themselves in a CAD programme or downloaded from the Internet. However, three-dimensional files cannot be processed. Users must convert these files into a file format that cuts the three-dimensional model into two-dimensional layers. These layers can then be assembled by the various printer models in individual steps to create the desired model. Common file formats are: STP, IGES, STL, X3D, COLLADA, VRML (WRL), OBJ, PLY, AMF.
Different printing methods – With molten or liquid material as well as powder
There are various printing processes, each with its own advantages and disadvantages. Roughly speaking, a distinction is made between production with three different material states:
- 3D printing with molten material
- 3D printing with liquid material
- 3D printing with powder
No matter which of these techniques is to be used: Just like an ordinary paper printer, the 3D model needs a file that contains information about the print. Based on the print data, the machine moves the print head and applies the material. The virtual three-dimensional model, which is usually contained in a CAD file, is divided into two-dimensional slices, so-called layers. This procedure is also called slicing. After the conversion, users receive a file in STL or AMF format. With the help of such a file, the 3D printer then builds up the model layer by layer.
Some of the various processes differ only in small details. The individual processes are often protected by patents. We present some of the processes below.
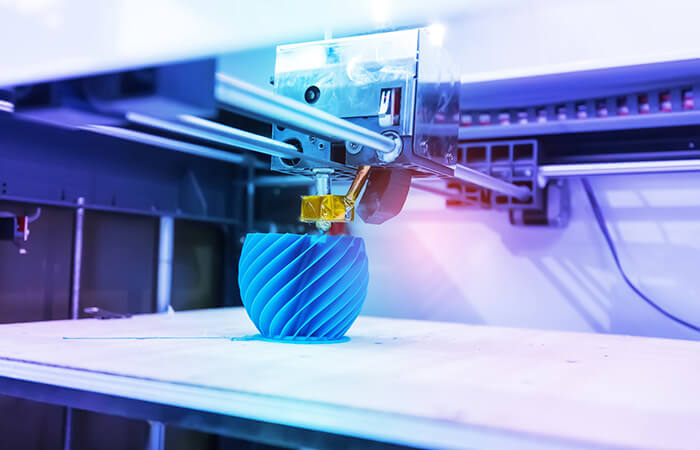
3D printing using molten materials
The most common and at the same time cheapest method in three-dimensional printing is the use of solid materials, for example plastics such as ABS or PLA, which are melted and then applied in liquefied form layer by layer (free-space method).
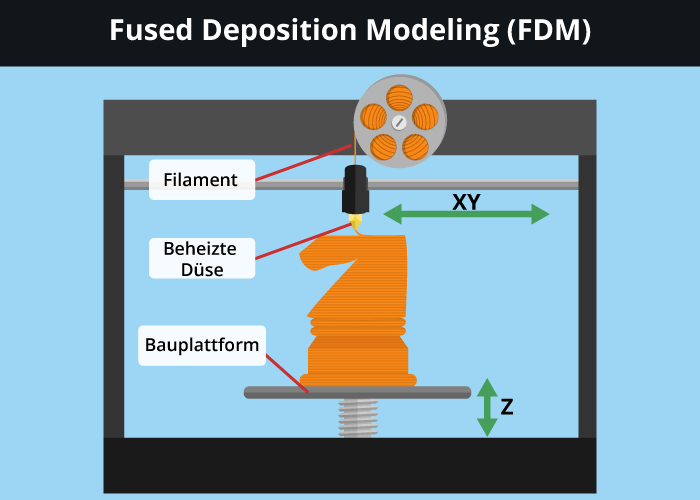
This process is called FDM (Fused Disposion Modelling) or FFF (Fused Filament Fabrication). The former process was developed in the USA and patented in 1989. Some of the printers cost over 10,000 euros. When the patent expired in 2009, hobbyists started to copy the technology. Since the name was still protected, they called their replicas FFF. These replicas, often referred to as RepRap devices, often do not have their own housing; then only the necessary linkage and one or more pressure nozzles are present. Several nozzles are needed if several filaments in different colours are to be used at the same time.
In principle, the whole process is similar to using a hot glue gun: a material is heated and ejected from a nozzle in a liquid state. The material then has to cool down in order to achieve a permanent result. Computer-controlled horizontal and vertical movements apply the filament to the desired areas. Only when one layer has cooled down can the layer above it be applied. Due to the versatile materials and model shapes, no general statement can be made about how long such a printing process takes. A few devices have a display and show the calculated remaining time. Such displays are occasionally found on finished machines.
Printing with materials other than plastic is also possible
Besides using plastic, it is also possible to melt other filaments and build up a model in layers. For example, it is also possible to use plaster, glass or wood. With appropriate filaments, medical products such as bracers, but also decorative objects can be produced. Even foodstuffs such as chocolate or mashed potatoes are already being experimented with. However, 3D printing in its current form is still too slow and too expensive for mass production. The best-known manufacturers include Makerbot, Ultimaker, Flashforge, German RepRap, Prusa and Geeetech.
3D printing using liquid material
Another printing process uses UV-sensitive liquid plastics called photopolymers. The liquid material process has four variants.
Stereolithography (SLA or STL)
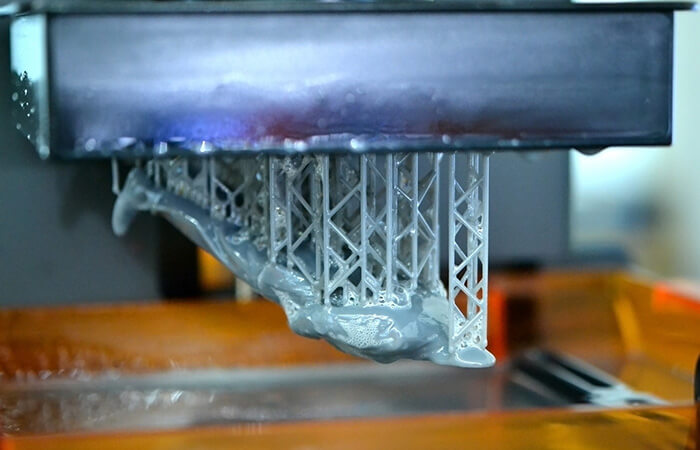
Stereolithography is, in a way, the predecessor of all 3D printing processes. It was patented as early as 1984 by the US American Chuck Hull. This process is quite complicated and expensive, but technically mature. Here, a special liquid plastic, so-called photopolymer, is hardened by means of UV light. The object is made in a container filled with the liquid material. To do this, a work plate is lowered with the top to a level minimally below the liquid level. There, a laser irradiates the first layer of the surface to be cured. Once this step is completed, the next layer can be produced.
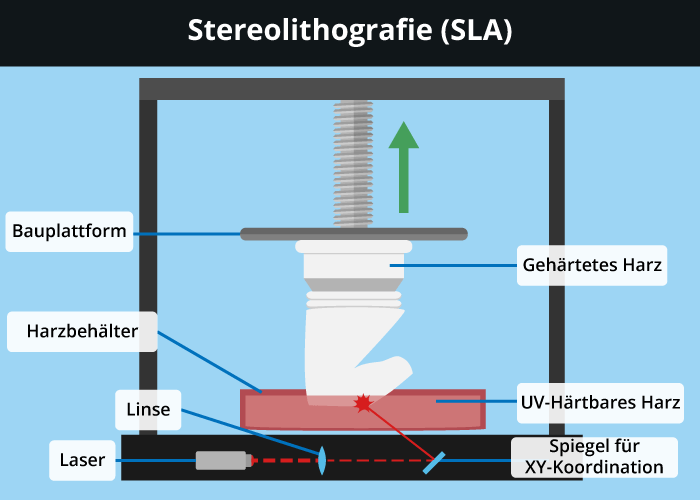
To do this, the working platform moves down into the bath by exactly the thickness of a layer. The next layer is now hardened on the surface by laser application. This happens many times and it takes hours to assemble the millimetre-thick layers to the desired result. In many cases, needle-like support structures have to be used during printing, which are then mechanically broken out. They are made of the same material as the final product. In the meantime, it is also possible to use mixed materials, such as photopolymer and ceramic. After successful printing, the object is fired. This gives the ceramic components a permanent bond and removes the plastic components.
Digital Light Processing (DLP)
In principle, this process works exactly like stereolithography. However, instead of a laser, a DLP projector is used as the light source. There have also been successful productions with normal beamers.
Multi-Jet Modelling (MJM)
Multi-jet modelling, also known as polyjet modelling, is a mixture of stereo lithography and the FDM technique introduced at the beginning. Here, a liquid and light-sensitive plastic is applied to the working platform via a print head, but is immediately hardened by a light source in the outlet nozzle.
Film Transfer Imaging (FTI)
The film transfer imaging process uses a similar technique: Here, too, the material is cured with a beamer. However, a transport film is used in this process. A film of the material used is applied to this film and then cured by the incidence of light. In the next step, this cured layer is lifted from the film and joined to the rest of the workpiece. Until this is complete, further individual layers are applied to the film and the process is repeated.
3D printing with powder
When using powder, also called powder bedding, there are two different possibilities: On the one hand, “baking” a figure in powder, and on the other hand, bonding the powder by means of a binder. In both cases, the object is produced in a powder bed. We present the two processes in the following.
Selective laser sintering (SLS)
The term selective laser sintering (or laser melting) refers to a process in which three-dimensional objects are created by melting powder-like materials, such as plaster. For each individual layer of the model to be printed, the machine applies a thin layer of the powder. After a layer has solidified, a roller ensures that new powder is applied above the workpiece, which then “burns in” a new layer according to the 2D file.
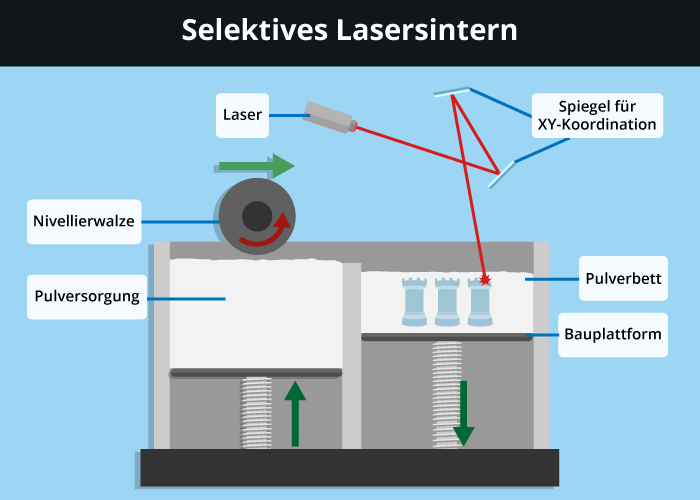
The individual layers are joined by the laser and the process is repeated until the model is finished. The user removes excess powder with a brush or a suction cup and uses it again the next time. Other materials that can be used are nylon, elastomers, alumides or polyamides. This method is comparatively the most expensive. Some materials still require finishing for cleaning or stabilisation, for example with superglue.
3DP method: Adhesive for bonding
In the 3DP process, powder is also used, but this is not fired, but solidified with a liquid adhesive. This is applied computer-controlled via a pressure nozzle at predetermined points, similar to ink in an inkjet printer. The assembled model then emerges from the totality of the glued-together powder layers. Here, too, the working plate moves down a little before each new layer of powder is applied. Possible materials are plaster and plastic powders, ceramics, glass and other powder-like materials. Like the SLS variant, this process is extremely resource-efficient, as the user can vacuum up and reuse material that has not bonded.
Printing Materials – Filament & Pellets, Powder, Resin & Wax
Depending on which of the methods presented is used for printing, the devices require a different consumable material, such as filament for melting.
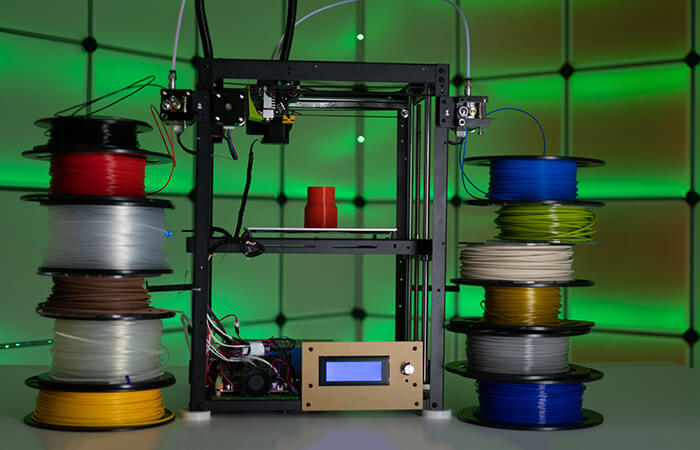
Printing with molten material: filament or pellets
The extrusion process is a generic term for all methods in which viscous masses are forced through a nozzle. In 3D printing, plastic filament or plastic pellets are melted down for this purpose, formed into a figure via a nozzle. The model is then hardened. The most commonly used material in private use is polyactide (PLA). It is a lactic acid-based plastic that is approved for use in the food sector as well as in the textile industry because it is harmless to health. The fact that the material softens quickly is an advantage when printing.
However, even the hardened models are still sensitive to heat. If the material is used for the production of drinking cups, for example, warm drinks are taboo. Models from the 3D printer must not be exposed to high room temperatures caused by heating air or direct sunlight.
A less heat-sensitive material is acrylonitrile butadiene styrene copolymer (ABS). However, it burns more quickly and can therefore cause unpleasant odours during printing.
Which material is used depends above all on the printer model: there are 3D printers that can only process one material. If the printer can process both materials, PLA is generally preferable: it is more environmentally friendly and suitable for applications up to 50 degrees. If temperatures of up to 85 or 100 degrees must be withstood without damage, only ABS comes into question. A special form is Color PLA (CPLA). This material can absorb ink drops. This makes multicolour printing possible.
Printing with liquid materials: Polyjet, Resin, Wax
In the polyjet process, extremely small drops of a photopolymer are applied to the work platform and cured with the help of UV light. Instead of the photopolymer, synthetic resins such as resin or special waxes can also be used. At the end of production, the models are pulled upside down out of the bath of liquid.
Printing with powders
3D printing with powders is still comparatively expensive. This is due to the purchase costs of the powdery consumables. These are either melted together by laser at previously defined points to form an object or joined together via nozzles using special adhesives. Once the production of the model is complete, users remove the excess powder residues with a brush or a vacuum cleaner. These can then be recycled.
After the purchase
The decision for a certain 3D printer has been made, but what are the next steps? Users should consider some tips regarding the installation site. We also provide tips for creating the model on the computer, for the printing process and for cleaning.
Installation location: a major factor influencing the print result
The choice of location has a direct influence on the printing result: it makes a difference whether users place the printer on the floor or on a table or worktop. The dust density is highest on the floor. When people walk through the room, they stir up dust. This dust can be deposited on the print bed – especially in the case of self-assembled printers without a housing – and thus hinder the adhesion of the model. This can have a direct influence on the print quality, as the model can slip during the working phase. Dust on the materials, for example on the filament to be melted, also leads to quality problems or to clogging of the nozzles.
Good ventilation necessary
Users should also ensure good ventilation, as plastics such as ABS and PLA emit vapours during melting. To prevent damage to health, exhaust ventilation or at least an adequate supply of fresh air is advisable. However, operating the 3D printer outside the front door is not a good idea either: if the weather is too windy, there is also the problem of lack of adhesion. Since the motor and mechanics can be quite noisy, it is advisable to position it away from living rooms and bedrooms.
Now it’s time to print
Once the right place has been found and the device is ready for operation, the printer needs a computer-readable file. Users can either create this themselves with suitable software or test the 3D printer by downloading a suitable model from the internet. The latter option is particularly interesting for newcomers, as they are usually not so familiar with designing their own models. Users can save the file either on an SD card or a USB stick and provide the 3D printer with the necessary working instructions. A direct connection between computer and printer is not so widespread, only works with some models and is not easy to set up for beginners. After heating up, the actual printing begins. If the model does not adhere to the print bed with the first layers, it is usually lost.
Follow-up & cleaning
Depending on the type of printer, various further steps are necessary after a complete print. Either the model has to cool down completely and harden, or the user has to brush or vacuum away the excess powder. Some materials require further treatment, such as superglue for stabilisation. The user may also need to remove a support structure, either by hand, with sandpaper or with an appropriate liquid that dissolves the supports (in some cases this is a solution containing alcohol).
Users can clear a clogged nozzle by manually pushing filament into the heating element. If this does not produce the desired result, they can try to clear the blockage with an acupuncture needle. In extreme cases, the user will have to disassemble the printhead and break it down into its component parts to clean it completely. Some manufacturers have special cleaning filament in their portfolio to ensure that the nozzle is cleaned of residue.
For cleaning the print beds, users should use special cleaning agents so as not to attack the sensitive adhesive coating.